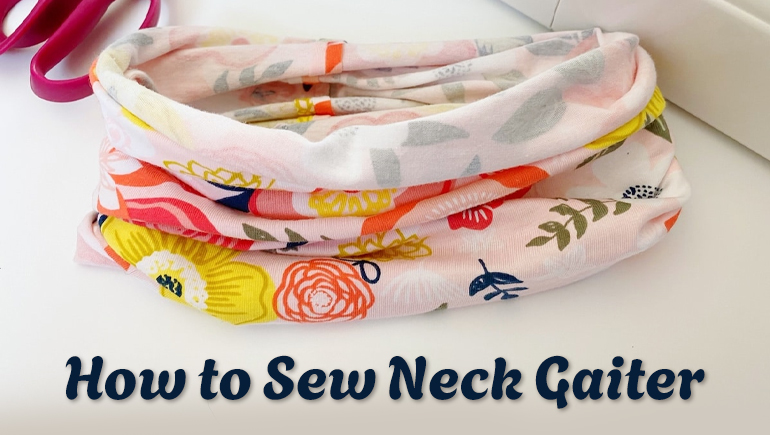
One of the easiest, but surely one of the most useful sewing projects you can do is sew a neck gaiter.
For those who don’t know, a neck gaiter is a flexible tubular item made of fabric that warms the neck, shields the face against dust or freezing blows, and serves as an accent to regular clothes. You can use it during cycling, hiking, skiing, and also as an additional layer to get protected from the cold. No doubt, a neck gaiter will soon become one of the items that you cannot imagine your daily life without.
Now you must be wondering how to sew a neck gaiter. Well, they are sold at numerous shops, but it is possible to sew them with a selection of better fabric, or customize them to your size and save. This can also be done by a beginner with the simplest tools. This is the step-by-step guide on how to sew a gaiter neck warmer and determine what a neck gaiter is, what materials to use, and how to design your own.
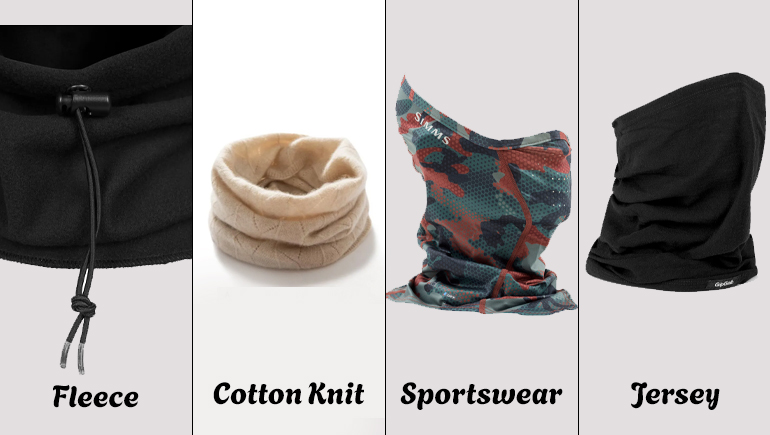
The material you choose will probably have a big influence on the level of comfort and utility of your neck gaiter. Dissimilar materials offer varying degrees of warmth, breathability, and stretch.
Fleece is the most common lightweight and insulating fabric that is used in cold climates. This is the best option to use since it retains warmth and offers a great level of heat retention. Most importantly, it doesn’t need any hemming because it doesn’t fray easily.
The cotton knit fabric is a different experience altogether. It is light, breathable, and compatible with delicate skin. Due to these reasons, cotton knit gaiters are suitable for everyday chores as well as warm weather.
Sportswear fabric is frequently made with polyester blends. They are significantly tough materials that are meant to draw the moisture off the skin. Besides, polyester gaiters are very useful to individuals who like running, cycling, or hiking, as they help in keeping the sweat under control and dry fast.
Another good substitute, which is prized for being light, stretchy, and comfortable. Most multi-purpose gaiters are made from jersey since the fabric can be used in various styles and applications.
Read More: What Is Fleece Material? A Deep (and Fun) Dive Into the Fabric Everyone Loves
Having the right measurements means that your neck gaiter will not be too tight to keep you choking and not too loose to let air pass. The vast majority of gaiters are made in a plain rectangular shape, though the construction differs based on the target audience size, whether an adult or a child.
| Size Category | Width | Height |
| Kids | 9–10 inches | 16–18 inches |
| Teens | 10–11 inches | 18–20 inches |
| Adults | 11–12 inches | 20–22 inches |
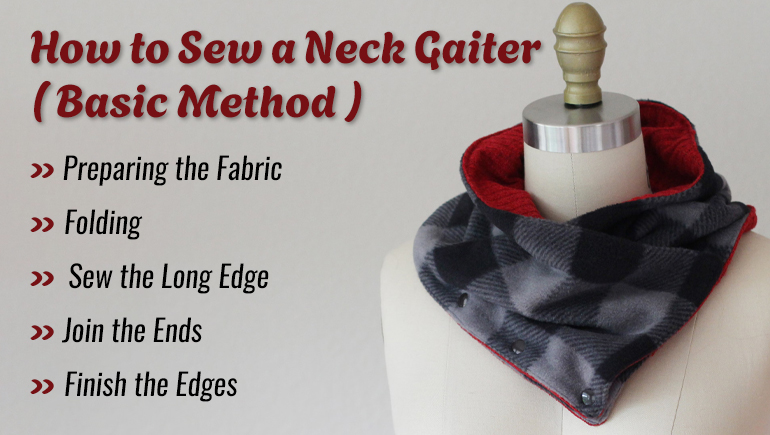
Making a neck gaiter is a simple task requiring one to cut, fold, sew, and complete the cloth. The project is not so difficult, even for beginners; it is possible to complete it within a short period of time.
Start by measuring the fabric per the required size. A gaiter that is a rectangle with a size of about 12 inches and a height of 20-22 inches is good enough to use by an average adult. Besides, before cutting, mark the measurements using fabric chalk.
After cutting the fabric, fold it in a length way such that the right sides are facing. This type of folding will make the seam sealed within the gaiter once sewn. Make sure that the edges are lined so that there are no seams in the future with an effortless look.
Stitch the length of the folded piece with the sewing machine or by hand using a needle and thread. Zigzag or stretch stitch is suggested since it would allow the seam to stretch together with the cloth. Remember to give a half-inch seam allowance to let it last longer.
Once the long seam has been sewn, neatly inside-out stitch the tube until the seam that was stitched up is concealed inside the cloth. At this point, the work will already look like a mere neck tube.
Then, the two open ends are brought together. Hold them together and sew on the rim to form a continuous loop. This is the last step of the neck gaiter. Now it can be a part of your cycling clothing or streetwear.
Last but not least, check all seams and make sure that they are safe. Extraction of loose threads and stretching of the fabric help examine the durability of the stitches. When this is done, your neck gaiter is good to go.
Hopefully, your question of how to make a gaiter neck warmer is answered. Sewing a neck gaiter is an enjoyable Do-It-Yourself project, which involves creativity. Using just a scrap of stretchy material and some simple sewing techniques, you can create something that will keep you warm, shield your skin in bad weather, and offer an item that is stylish and attractive. It is easy to learn, but it can be easily modified to suit any customization.
After choosing the correct cloth, cutting the right size, sewing all the correct stitches, and every process will assist you in creating a long-lasting and cozy neck gaiter. Need the help of a professional, custom designs, or high-quality apparel solutions? Vel Clothing will be happy to assist. You can call our team at +804-294-1966 in case you need expert help or need help with clothes.