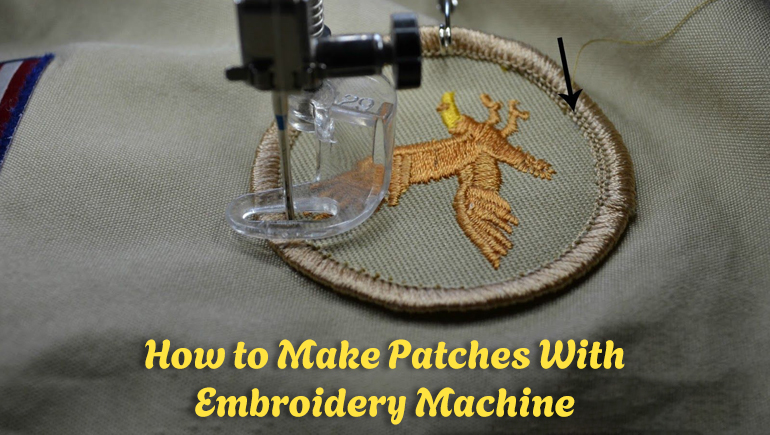
Patches are having a serious main-character moment. Embroidered patches are bringing personality to everything from jackets and backpacks to headgear and uniforms. You can label them "wearable stickers with attitude." The most wonderful aspect? To create them, you don't need a huge factory. You can create miniature works of art out of thread with an embroidery machine and a little skill.
Let's explore how to use an embroidery machine to make patches in a way that is easy to understand, enjoyable, and suitable for beginners, while still being interesting enough for stitch enthusiasts with more experience.
Machine-embroidered patch patterns are an excellent form of creative therapy. They are incredibly customizable and quick to stitch. Without committing to a complete garment, you can play around with borders, shades, and textures. Make a mistake? It's only a patch! Get it right? Instant merch!
Additionally, these are profitable. They are inexpensive, collectible, and relatively easy to deliver, which is why small enterprises appreciate them. Patch-making is a powerful ability, whether you're creating it for enjoyment or to establish your brand.
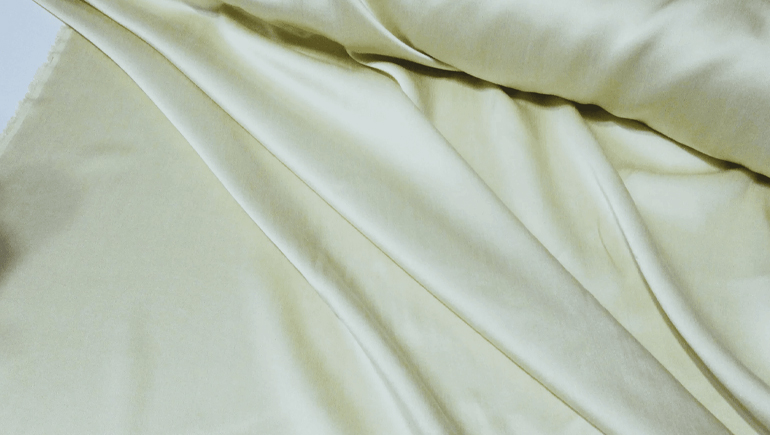
Bonus: Choosing the right fabric is important. Patch Twill for embroidery excels in this! Twill holds stitches wonderfully and is clean and long-lasting. It doesn't complain about mid-design, twisting, or stretching. Consider twill to be the needlework world's kind, trustworthy friend!
Let's speak about materials before getting into how to use embroidery machines to create embroidered patches:
| ITEMS | PURPOSE |
| Embroidery machine (single or multi-needle) | Stitches the patch design quickly and precisely. |
| Embroidery stabilizer (cut-away or tear-away) | Prevents deformation by supporting the fabric while it is being stitched. |
| Patch fabric or twill | Base fabric on which the patch pattern is sewn. |
| Embroidery thread | Enhances the design's resilience, color, and intricacy. |
| Patch backing (Velcro, iron-on adhesive, or plain backing) | Offers structural support and an attaching method. |
| Scissors or rotary cutter | Cleans the edges of the patch and trims extra fabric. |
| Heat press or iron | Completes the patch and fixes the adhesive backing. |
| Optional: patch border file (merrow or satin stitch) | Produces a neat, expert patch edge. |
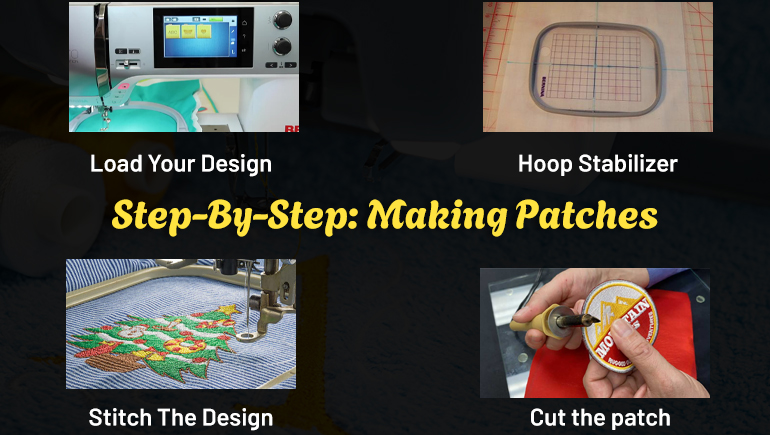
This is the standard approach used by professionals: secure your twill, stitch the design, add a hoop stabilizer, and finish with a neat border for longevity. Here is your detailed guideline.
Select or digitize your designs for machine-embroidered patches. Moreover, a quality patch file consists of:
Tip: Give sincere importance to the boundary. After all, it leads to the clean, polished appearance of patches. The best decision is “satin or merrow-style edging.”
To avoid shifting and border ripple:
It is done to hook your stabilizer drum-tight so that it sounds like a snare when tapped.
In order to produce a stable base that prevents puckering, maintains sharp edges, and guarantees that your layers stack properly during the final embroidery passes, it is advised to stitch the tack-down line afterwards.
Read More: Comprehensive Guide to 10 Different Types of Patches
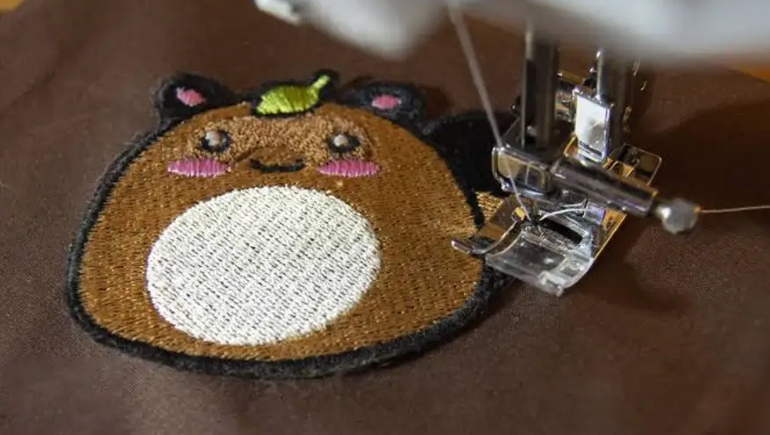
The machine produces the patch in stages during the stitching process:
In addition to increasing color depth, heavier stitch counts strengthen the fabric. Ultimately, this makes the patch function more like a structural badge than a soft fabric.
The lock seal or the last border stitch creates a protective rim that is resistant to tearing, curling, splitting, and wear by compressing the edge fibers and binding all threaded layers together.
Lastly, what turns embroidery into a quality patch that can withstand regular use, cleaning, and friction is a tidy border.
Cutting becomes a precise process rather than a last-minute one when the hoop is removed.
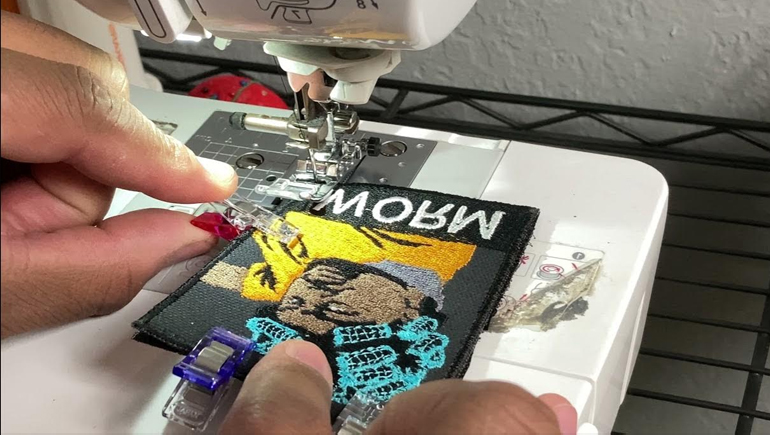
This phase comprises separating the completed needlework from the stabilizer, along with extra fabric. Further, the exterior stitches are shielded by leaving a little space around a satin border; if you cut too closely, you run the danger of severing the thread holding the patch in place. The long-term result is tearing after washing or wearing.
Tip: For added precision and to prevent shifting, place a towel or soft linen underneath the patch while cutting.
That little cushion serves as a safety net. By using embroidery scissors, you avoid fuzzy fibers and achieve neat edges, giving the patch a factory-finished impression. At this point, the patch is technically complete but not finished on the back; consider it a blank canvas that can be sewn on, Velcroed, or adhered - depending on your preferred method of attachment.
A properly fastened Velcro backing transforms your patch from a one-time decoration into a reusable badge system.
In essence, iron-on patches function by incorporating a layer of heat-activated glue within the patch itself. A flexible film that revives when pressed into garments (also works great for modern cushion covers) is created when the adhesive sheet melts into the yarn and foundation fabric. Further, proper temperature and pressure are far more crucial than time alone because heat helps the glue to get into the fabric strands, creating a bond that goes beyond the surface.
Heating is crucial, but so is cooling. Why? The patch structure is secured in place as the glue hardens and cools. Remember, early movement or bending of the patch results in weak places that peel off after laundering.
Consider it similar to setting concrete: cooling cures, pressure spreads, and heat melts.
Key tips for stronger iron-on patches:
Tip: It goes well with screen printing designs and artwork.
The "gentle royalty" of the patch industry is Chenille patches. Imagine vintage logos and varsity jackets! To make patches in the chenille style:
Chenille gives softness and dimension. Moreover, these patches are perfect for streetwear retailers to express retro cool. It can take your private label up a notch. On the contrary, the benefits are tremendous, but they require more effort and specialized expertise.
Want your patches to look professional rather than amateurish? Do the following:
You're not just creating patches once you know how to use an embroidery machine; you're creating a miniature design studio. Anything can be turned into a wearable identity, including logos, mascots, phrases, artwork, and inside jokes. Additionally, they allow you to experiment fearlessly.
Each patch serves as a testing ground for branding, texture, and color theory. Vel Clothing is expert workmanship and scalable manufacturing help you realize your embroidered ideas and transform those experiments into high-end clothing and production-ready items. Your imagination can grow into a whole brand; it doesn't have to end at the hoop.